As a seasoned angler who has seen more tangled lines and improperly attached lures than I’d care to admit, I’ve devoted plenty of time to mastering the fine art of setting up a fishing rod correctly.
This blog post isn’t just your run-of-the-mill beginner’s guide – it’s an easy-to-follow roadmap that lays out each step clearly from assembling your rod right through to attaching your lure with precision.
So let’s prep you for that exhilarating moment when you make your first cast!
Key Takeaways
- To set up a fishing pole, you will need tools such as fishing line, spinning rod, spinning reel, scissors, and lures.
- Cleaning your rod is important for its longevity and optimal performance. Wipe it down with a soft cloth or sponge and use a mild soapy solution to clean the guides and reel seat areas. Rinse off the soap residue and pat dry with a towel.
- When attaching the reel to the rod, make sure it is securely tightened onto the reel seat. Adjust the handle for right-handed or left-handed use if needed.
- To set up the fishing line correctly, understand the direction of the spool before threading it through each guide on your rod. Use snaps or swivels for easy changing of lures without retying knots each time.
- Adjusting the drag knob on your reel is important for controlling resistance when a fish takes your bait. Set it at around 25-30% of the line’s breaking strength.
- Remember to release the line smoothly when casting, keep a steady rhythm while reeling in, pay attention to subtle bites or tugs on your line, and maintain/clean your fishing pole after each use.
- You need specific tools like fishing line, rods/reel/scissors/lures
- Clean/assemble/tighten properly using steps recommended
- Understand spool direction/threading guides accurately/set up lines securely
- Adjust drag knob smoothly/release – cast steadily/pay attention/maintain & clean regularly
Tools Needed for Assembling a Fishing Pole

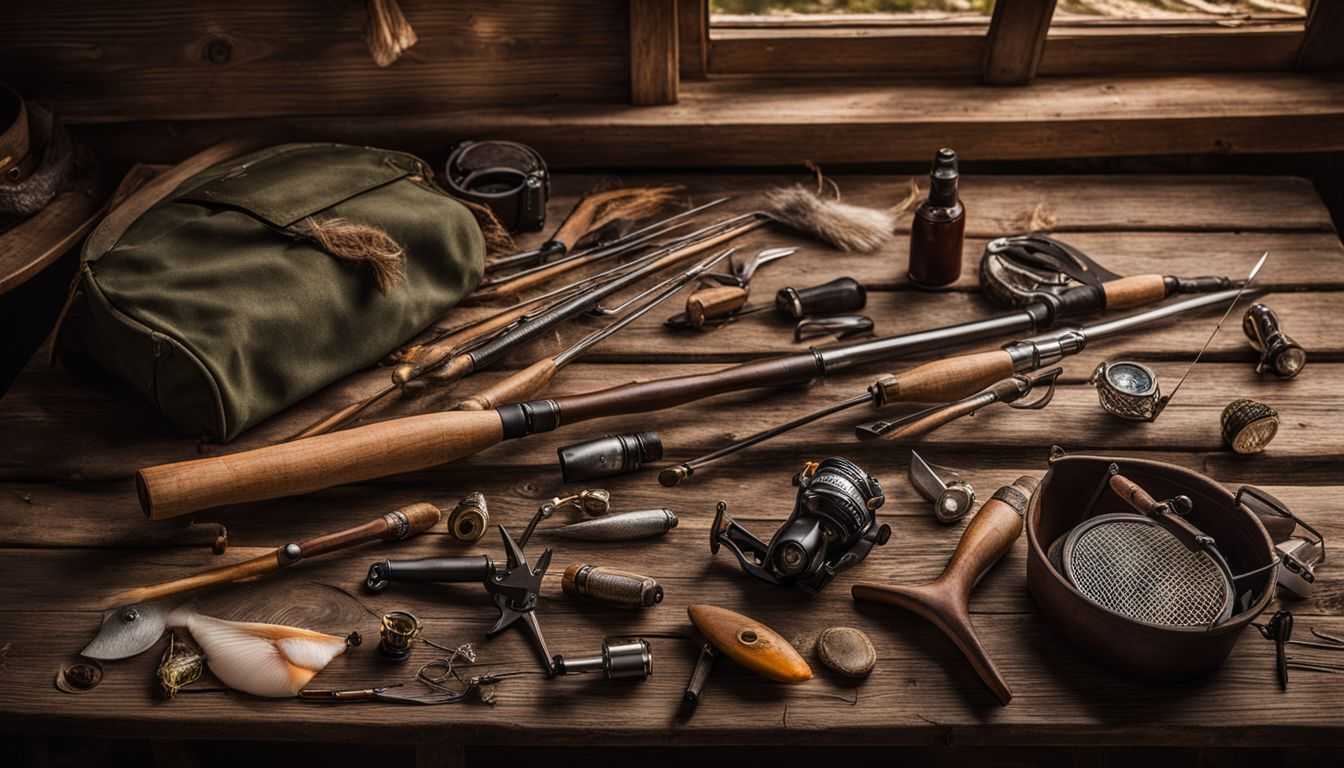
To assemble a fishing pole, you will need the following tools: fishing line, spinning rod, spinning reel, scissors, and lures.
Fishing Line
A fishing line is very important. It should be strong and hard to see in the water. There are three types of fishing lines. The first one, called fluorocarbon, does not show up under the water and it’s tough too.
Second, we have monofilament which can stretch well before breaking which is great for big fish. Lastly, there’s braided line that’s thin but much stronger than the other two types.
Did you know a 30-pound test braided line is just as thick as a 10-pound test monofilament line? Often, I use both braided line and a short piece of fluorocarbon or monofilament leader when I fish for different kinds of fishes.
Spinning Rod
A spinning rod is a key part of your fishing gear. It’s used with a spinning reel that sits under the rod. You need to pick a spinning rod that fits well with the fish size and bait type you want to use.
Before you start setting up, always clean your rod. This gets rid of any dirt or things that may make it work less well. Once clean, get ready to attach your reel. First, loosen the real seat on your rod by unscrewing it a bit.
Next, fit the foot of the reel onto this spot and screw back tightly so it stays put.
Spinning Reel
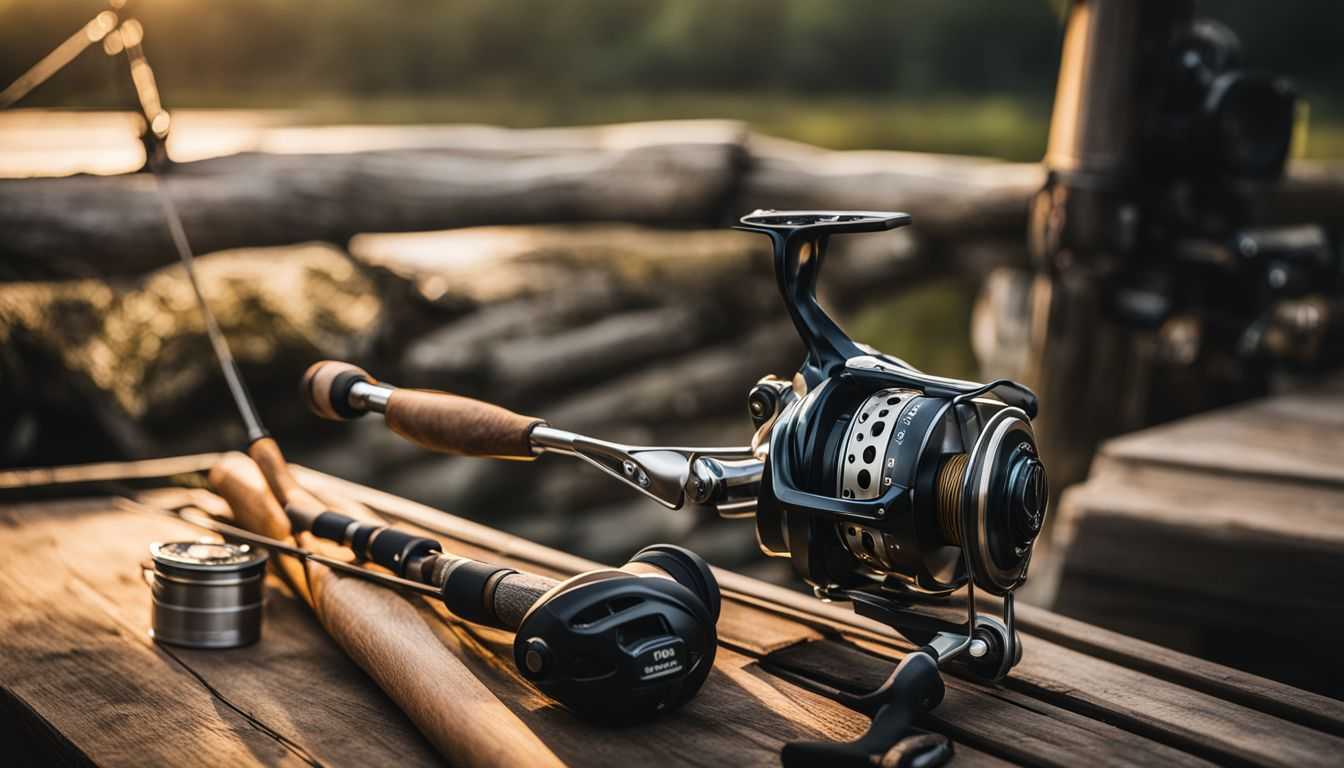
A spinning reel is a key part of my fishing gear. It sits on the bottom side of the rod to make it easy to use. Picking the right one can make my fishing trip better. I need to be sure it fits well with my rod and that it will work for where I plan to fish.
The first step in getting it ready is loosening up the reel seat on the rod so the foot of the reel can fit into place. After setting in, I tightly screw down this seat until everything feels secure and firm.
The job doesn’t end there; using a spinning reel rightly also involves having good control over its functions like drag adjustment for catching different types of fishes such as bass or trout!
Scissors
You need scissors to set up your fishing pole. They help you cut the fishing line. You may also use them to trim any knots you tie. Make sure your scissors are sharp and clean. Dull or dirty scissors can harm your line and make it weak.
So, always have a good pair of scissors in your fishing kit!
Lures
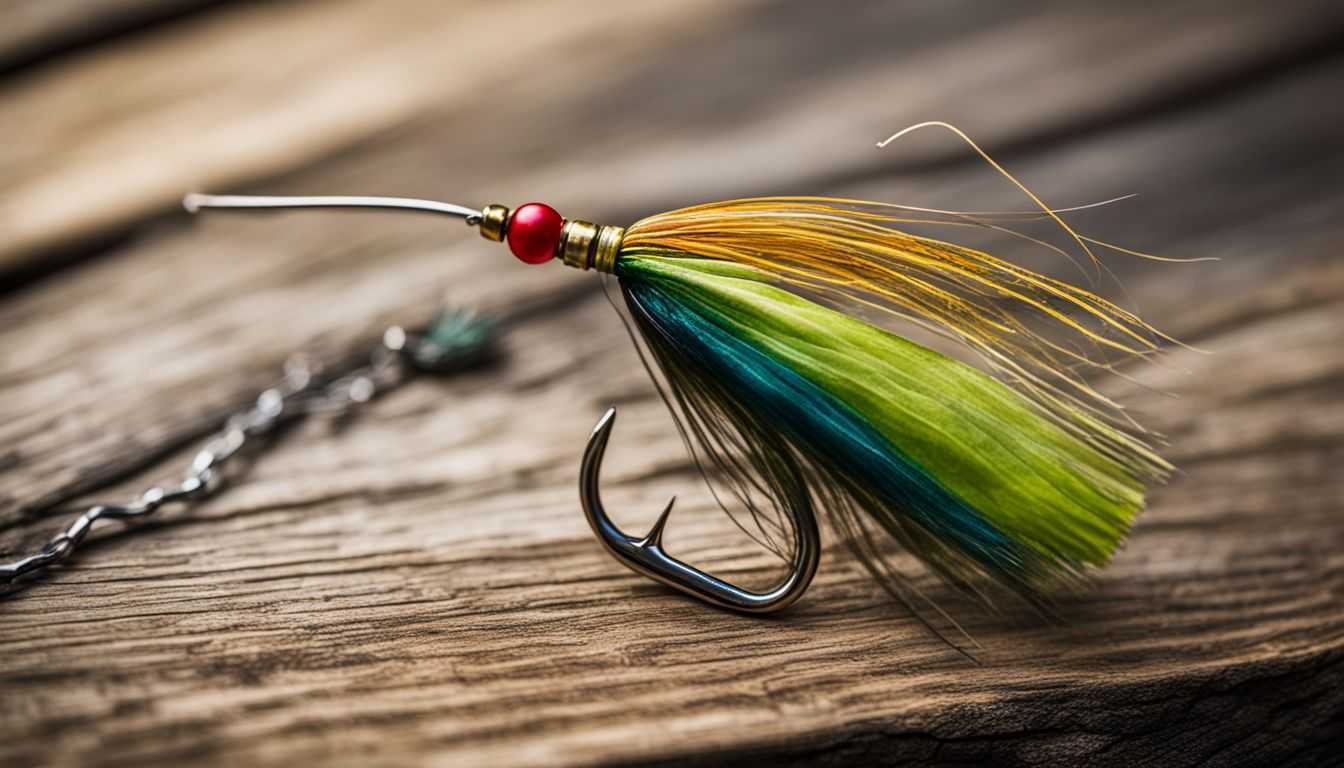
When it comes to fishing, using the right lure can make a big difference in your success. Lures are designed to mimic the appearance and movement of baitfish or other prey, attracting fish to bite.
There are many different types of lures available, such as crankbaits, jigs, spinners, and soft plastics. Each type has its own unique action and is effective for different fishing situations.
When selecting a lure, consider the species of fish you’re targeting and the conditions you’ll be fishing in. Experiment with different colors and sizes until you find what works best.
Assembling Your Rod and Reel

To assemble your rod and reel, start by cleaning the rod and ensuring all ferrules are securely connected. Then, attach the reel to the rod by sliding the reel foot into the reel seat and tightening the locking nut.
Cleaning Your Rod
Taking care of your fishing rod is essential for its longevity and optimal performance. Cleaning your rod regularly will help prevent dirt, debris, and salt buildup that can damage the materials over time.
To clean your rod, start by wiping it down with a soft cloth or sponge to remove any surface dirt. Then, mix a mild soapy solution using warm water and gentle dish soap. Dip a clean cloth or sponge into the soapy water and gently scrub the rod from top to bottom.
Pay extra attention to the guides and reel seat areas where dirt tends to accumulate. Rinse off the soap residue with clean water and pat dry with a towel. Avoid using abrasive cleaners or harsh chemicals as they can damage the finish of your rod.
Putting Together Your Rod
To put together your rod, start by cleaning it to ensure there’s no dirt or debris. Then, carefully connect the sections of your rod, making sure they fit snugly together. Next, attach the reel to the rod by sliding the reel foot into the reel seat and tightening the locking nut.
Remember to adjust the reel for right-handed or left-handed operation based on your preference. And that’s it! Your rod is now ready for action.
Attaching the Reel to the Rod
When attaching the reel to the rod, make sure it is securely tightened onto the reel seat. If needed, unscrew the reel seat and fit the reel foot onto it properly. You can also switch the handle for right-handed or left-handed use.
Before spooling the reel, take note of which way the spool turns when you turn the handle. By attaching your reel correctly, you’ll have a fishing pole that is ready to use and allows for smooth casting and reeling in of fish.
Setting up the Fishing Line

To set up the fishing line, first, understand the direction of the spool and thread the line through the guides. Then, carefully spool the line onto the reel to avoid overfilling or underfilling.
Finally, properly set up and secure the line to ensure a successful fishing experience.
Understanding the Direction of the Spool
Setting up your fishing pole properly starts with understanding the direction of the spool. This is important because it determines how the fishing line will be wound onto the reel.
To determine the correct direction, pay attention to how the line comes off the spool when you turn the reel handle. Take note of whether it comes off clockwise or counterclockwise.
This information will help you ensure that you thread the line through each guide on your rod correctly, starting from the first guide and ending at the tip. As a beginner angler, understanding this simple aspect of setting up your fishing pole will go a long way in ensuring that everything is set up properly for a successful day of fishing.
Threading the Line through the Guides
Threading the line through the guides is an important step in setting up your fishing pole. When you’re ready to thread the line, start by passing it through each guide on the rod, starting from the tip and working your way down towards the reel.
Make sure to use the drag on your reel to release tension as you thread the line through each guide. This will help prevent any damage to both the line and the guides. Once you’ve threaded the line through all of the guides, secure it to your reel using an arbor knot.
This will ensure that your line stays securely attached while you’re out fishing. So take your time and be careful when threading that line – it’s an important part of getting your fishing pole set up correctly!
Spooling the Reel
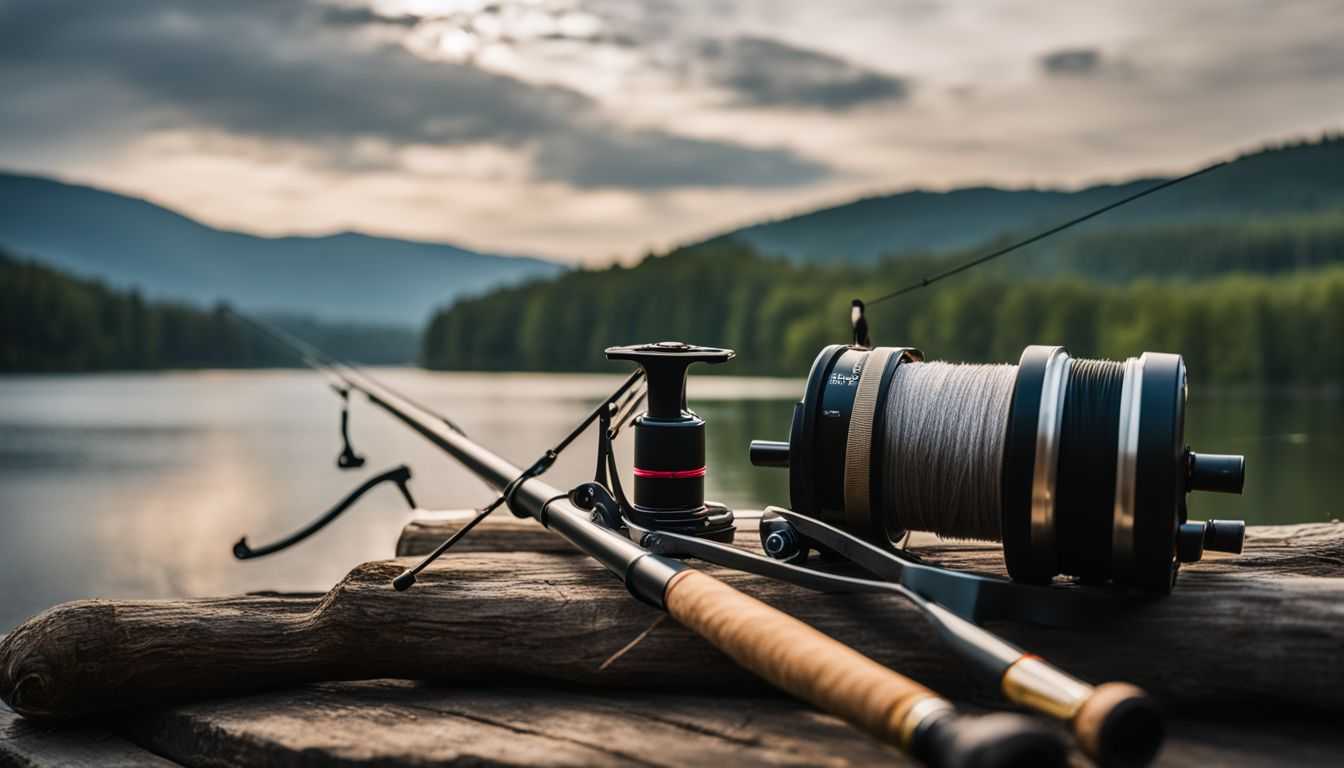
To spool the reel with fishing line, start by threading the line through the top eye of your rod. This will prevent the line from spinning. To tightly fill the spool with line, you can use electrical tape to secure it in place.
Make sure to leave about 1/8 of an inch from the lip when spooling your reel.
Setting up the Line
To set up the fishing line, start by understanding the direction of the spool. Make sure it is facing the right way before threading the line through the guides on your rod. Then, you can spool the reel by attaching it to the rod and turning the handle to wind the line onto it.
It’s important to keep tension on the line as you spool it to prevent tangles and twists. Once your line is properly spooled, you’re ready to attach a lure and start fishing!
How to Attach a Lure

To attach a lure, thread the fishing line through the eyelet of the lure, then tie a secure knot using one of several commonly used fishing knots. Once the knot is tied, you can use snaps or swivels to easily switch out different lures without having to re-tie knots each time.
Threading the Line through the Lure
To attach the lure to your fishing line, start by threading the line through the small hole on the top of the lure. Make sure to pull enough line through so that it’s about 6 inches long.
Then, tie a knot at the end of the line to secure it in place. You can use a simple overhand knot or try using specialized fishing knots like the clinch knot or improved clinch knot.
Once you’ve tied your knot, trim any excess line with scissors and you’re ready to cast your line into the water!
Learning to Tie a Knot
Tying a knot is an important skill for anglers like us. It allows us to securely attach our lures to the fishing line, ensuring that they won’t come loose when we’re casting or reeling in.
Threading the line through the rod’s guides and securing it with an arbor knot is a crucial step in setting up our fishing pole. There are different types of knots we can learn, such as the clinch knot, improved clinch knot, palomar knot, rapala knot, and trilene knot.
The more we practice tying these knots, the more proficient we’ll become in fishing. So let’s grab our line and start honing this essential skill!
Using Snaps and Swivels
Snaps and swivels are really handy tools for anglers. They make it super easy to attach your lure to your fishing pole without having to tie knots every time. Snaps are like little clips that you can quickly open and close, allowing you to switch out lures in a snap (pun intended!).
Swivels, on the other hand, are rotating connectors that prevent your fishing line from getting all twisted up. They keep everything nice and smooth so you can focus on reeling in the big one.
Just make sure to choose the right size and strength of snaps and swivels based on the weight and type of lures you’re using. Happy fishing!
Tips on Using Your Fishing Pole
– Adjust the drag knob on your reel to ensure that it is set correctly for the type of fish you are targeting.
– When casting, make sure to release the line smoothly and avoid jerking the rod.
– Keep a steady rhythm while reeling in the line to avoid any sudden movements that may scare away fish.
– Pay attention to any subtle bites or tugs on your line, as these could be signs of a fish nibbling at your bait.
– Take time to properly maintain and clean your fishing pole after each use to extend its lifespan.
Adjusting the Drag Knob
The drag knob on your fishing reel is important for controlling the amount of pressure or resistance that a fish feels when it takes the bait. To adjust the drag, turn the knob located on the reel to increase or decrease tension on the line.
It’s recommended to set the drag at around 25-30% of the line’s breaking strength, allowing some give when a fish pulls. This helps prevent breakage and tangling during a fight. So remember to adjust your drag properly before casting out!
Casting the Bait
Now that your fishing pole is all set up and ready to go, it’s time to cast your bait into the water. To start, hold onto the handle of your spinning reel with one hand and use your other hand to grasp the rod above the reel.
With a smooth motion, bring the rod behind you and then swing it forward, releasing the line from your index finger as you do so. This will send your bait flying through the air towards your intended fishing spot.
Remember to keep a firm grip on the rod throughout this process to ensure a successful cast. Happy fishing!
Reeling in the Line
When reeling in the line, it’s important to keep a few things in mind. First, make sure you adjust the drag knob on your reel according to the size of the fish you’re targeting. This will help prevent your line from breaking under pressure.
Next, use smooth and steady motions when reeling in to avoid any sudden jerks that could scare off the fish or cause them to break free. Finally, be patient and take your time while reeling in.
It can be tempting to rush, especially if you feel a big tug on your line, but it’s best to stay calm and let the fish tire itself out before bringing it closer to shore or into your boat.
Conclusion: Start Fishing!
Now that you know how to set up your fishing pole, it’s time to get out there and start fishing! Remember to bring along all the necessary tools and equipment we discussed in this guide.
Clean your rod, assemble it with care, spool the line properly, attach your favorite lures, and adjust the drag knob as needed. Then, cast away and reel in those fish! Have fun and enjoy your fishing adventure.
FAQs
1. How do I set up a fishing pole for beginners?
Setting up a fishing pole starts with choosing the right equipment. Attach the line to the rod, add weights and knots like Albright Knot or Loop knot, connect baitcasting reels or spinning reel, then put on your hook.
2. Can I set up a different setup for bass and trout?
Yes! How you set up a fishing pole can change based on fish type like bass or trout. The weight of your line, kind of hook and bait might be different.
3. What is important when setting my rod?
When setting your rod, check if the operation fits left-handers or right-handers. Also make sure there’s no damage to any equipment parts such as bail, line roller, rod tip etc., and that spool is not overfilled or underfilled.
4. Is there any special gear I need when fishing?
Wearing good tools like gloves can help protect hands during catching fish or tying knots while life jackets provide safety in case you fall into water!
5.What should I know about maintaining my fishing gear?
Cleaning rods after use helps keep them in top condition! Regular checks will catch breakages early so they don’t lead to lost catches!
6.Can kayaking aid me in catching more fish?
On some bodies of water using boats such as kayaks will bring you closer fish spots unreachable by foot
