As a car enthusiast, I’ve always taken great pride in the appearance of my vehicle, especially the shiny chrome rims that add a touch of elegance to my ride. However, over time, even the most well-maintained chrome rims can fall victim to oxidation, leaving them looking dull, lackluster, and far from their former glory. Don’t worry; I’ve got you covered! In this blog post, I’ll share some tried-and-true methods on how to clean oxidized chrome rims, so you can hit the road with pride once again.
Understanding the Oxidation Woes
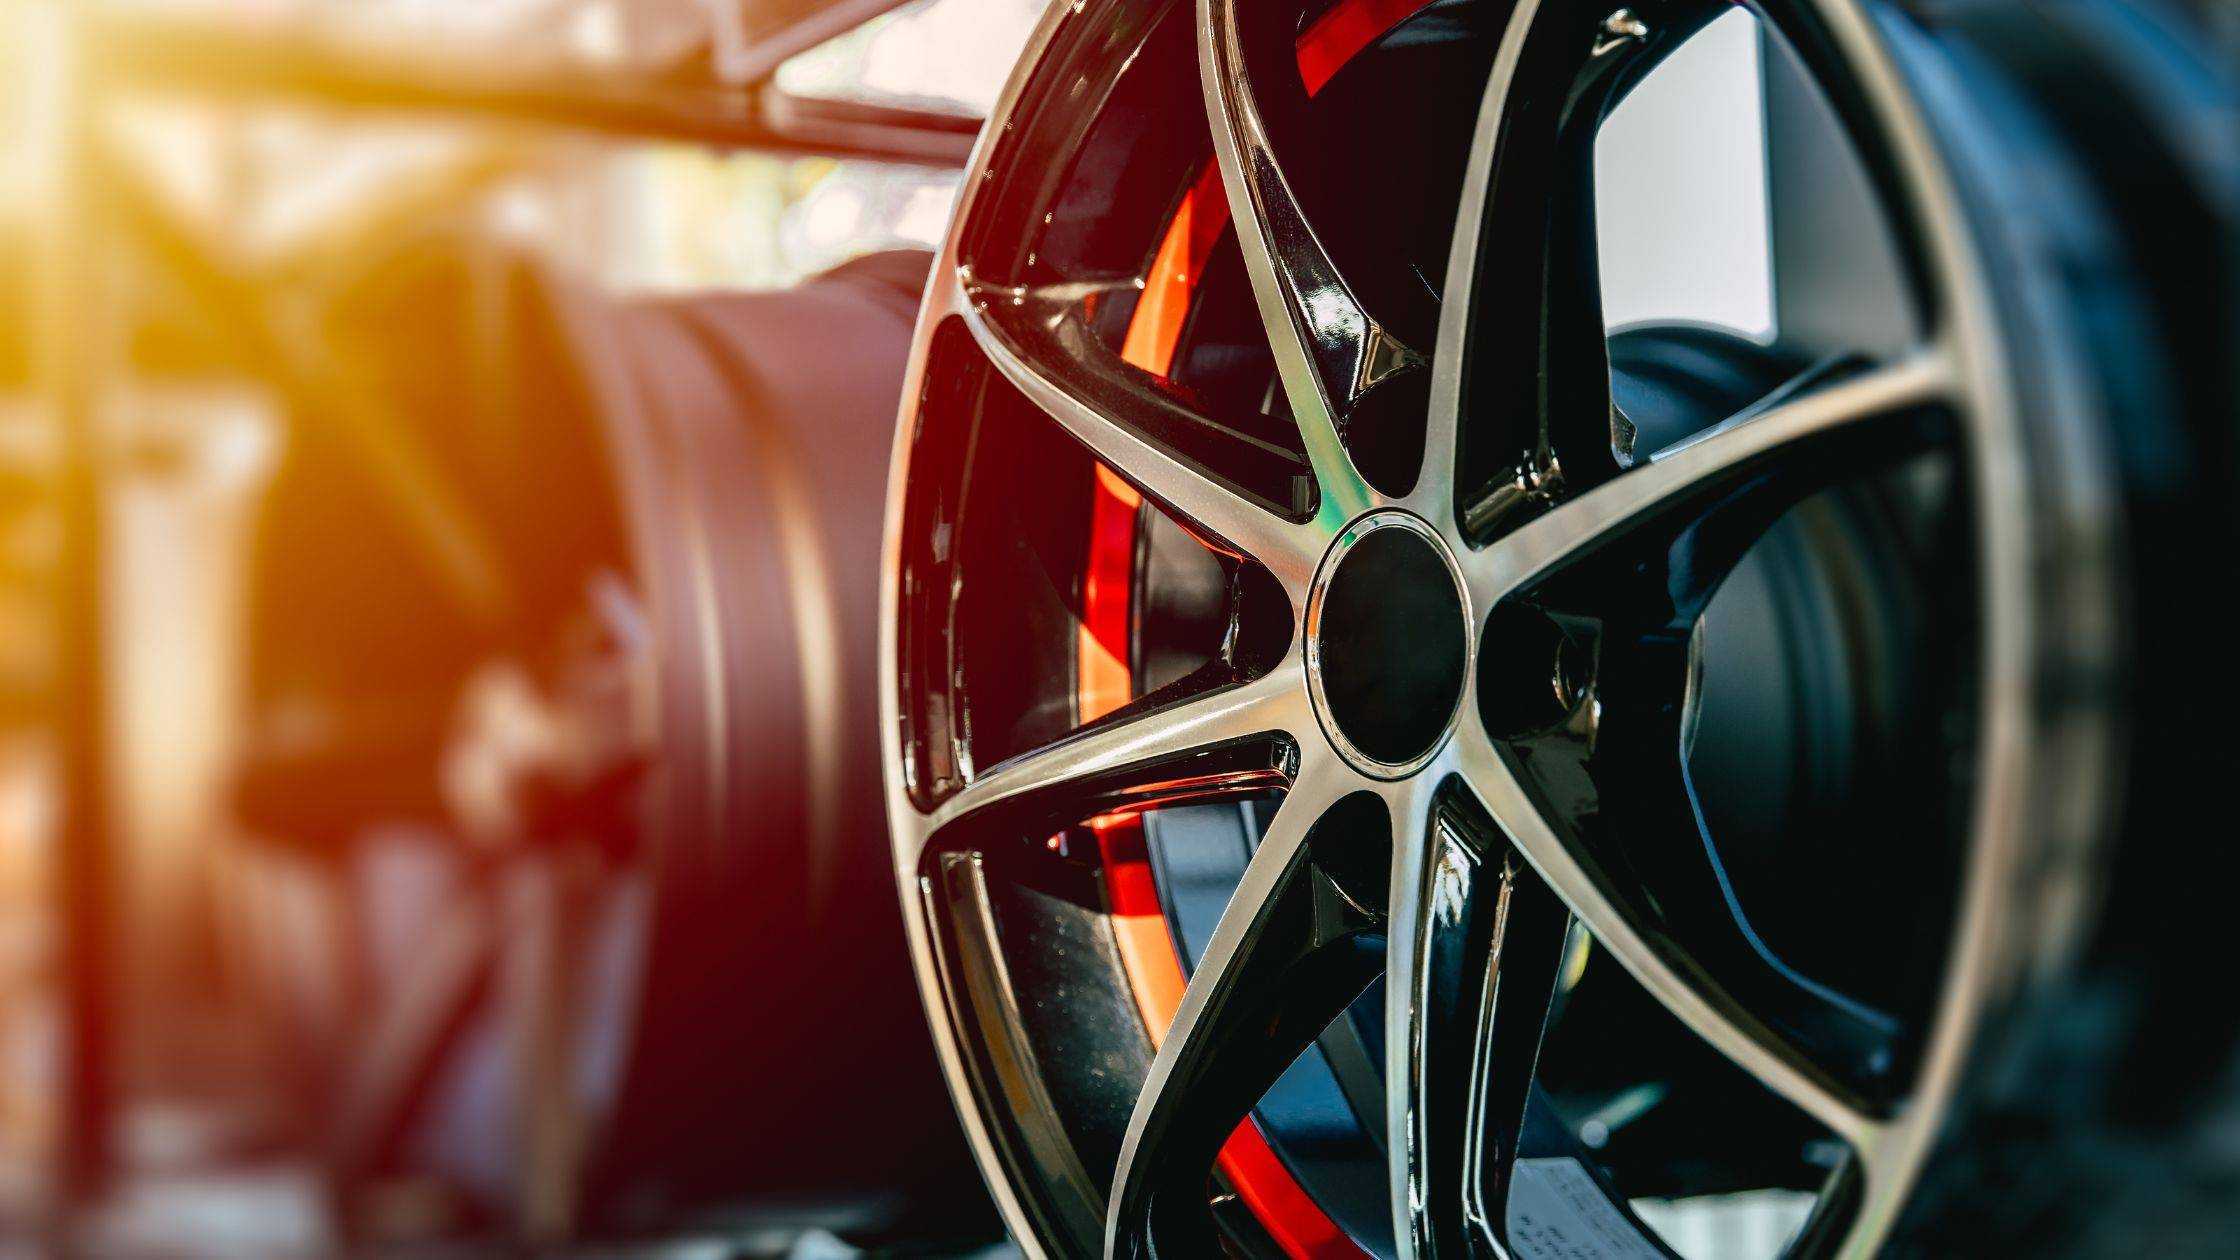
Before we dive into the cleaning process, let’s take a moment to understand why chrome rims get oxidized in the first place. Chrome is a popular choice for rims because of its brilliant shine and resistance to corrosion. However, when exposed to harsh environmental elements, road debris, and brake dust, chrome can develop a layer of oxidation that forms a dull, cloudy film on the surface. If left untreated, this oxidation can lead to pitting and permanent damage.
Gather Your Arsenal: Cleaning Supplies
To begin the battle against oxidation, you’ll need to gather your cleaning supplies. Fear not, though; you don’t need any specialized, expensive products. In fact, you likely have most of these items lying around at home:
- Mild Dish Soap: This will serve as the primary cleaner to remove grime and dirt from the rims.
- Microfiber Cloths: These soft and gentle cloths are perfect for cleaning chrome without causing scratches.
- Chrome Polish or Aluminum Foil: Choose between a chrome-specific polish or aluminum foil to tackle stubborn oxidation.
- Toothbrush: A toothbrush with soft bristles will come in handy for reaching into crevices and detailed areas.
- Bucket of Water: You’ll need this to dilute the dish soap and rinse off the rims.
- Protective Gloves: Optional, but wearing gloves can save your hands from getting too messy during the cleaning process.
Start the Process: How to Clean Oxidized Chrome Rims
Step 1: Prepare Your Rims
Start by giving your chrome rims a good rinse with water. This will remove any loose dirt or debris and make the cleaning process more effective.
Step 2: Suds Up!
In your bucket of water, mix a small amount of mild dish soap to create a soapy solution. Take your microfiber cloth and soak it in the soapy water. Gently scrub the rims, making sure to cover all areas thoroughly. The microfiber cloth will lift away dirt without scratching the chrome surface.
Step 3: Battle Stubborn Oxidation
If you encounter more stubborn oxidation spots, it’s time to bring out the big guns. You can either use a chrome-specific polish following the manufacturer’s instructions or go the DIY route with aluminum foil. To use aluminum foil, crumple it into a ball and moisten it with water. Rub the moistened foil over the oxidized spots with gentle pressure. The foil’s abrasiveness will help remove the oxidation, but be careful not to overdo it and damage the chrome.
Step 4: Detailing Delicacies
Use the toothbrush to reach into intricate patterns and detailed areas where grime might be hiding. The toothbrush’s soft bristles will help you achieve a thorough clean without causing any harm.
Step 5: Rinse and Dry
Once you’re satisfied with the cleaning, rinse off the rims with clean water to remove any remaining soap or polish. Then, use a separate dry microfiber cloth to gently dry the rims, ensuring there are no water spots left behind.
Preventing Future Oxidation
Congratulations! Your chrome rims should now be gleaming like new. To prevent oxidation from recurring, consider these tips:
- Regular Maintenance: Clean your rims at least once a month to prevent the buildup of grime and brake dust.
- Avoid Harsh Chemicals: Stay away from harsh cleaners or abrasive tools that can damage the chrome surface.
- Wax It Up: Apply a layer of car wax or sealant to your clean rims to provide an extra layer of protection against oxidation and environmental damage.
Now, go ahead and take your freshly cleaned wheels for a spin, and revel in the admiring glances from fellow drivers. Remember, a little bit of tender loving care can go a long way in keeping your chrome rims looking their best.
So, there you have it! With just a few simple cleaning steps and regular maintenance, you can restore the brilliance of your oxidized chrome rims and keep them shining for miles to come. Happy driving!
Disclaimer: Before attempting any cleaning methods, it’s always a good idea to test them on a small, inconspicuous area of your chrome rims to ensure compatibility and avoid any potential damage. If you’re uncertain about the process, consider seeking professional assistance.
Frequently Asked Questions
Want to know more about cleaning your oxidized chrome rims? We’ve got you covered! Click on the questions below to reveal the answers.